
Garage Floors on a Budget: Low-Cost Ideas You’ll Love
Transform Your Garage Without Breaking the Bank
Looking for affordable garage flooring options? Here’s a quick comparison of the most budget-friendly solutions:
Affordable garage flooring doesn’t mean you have to sacrifice quality or aesthetics. Whether you’re parking cars, creating a home gym, or setting up a workshop, your garage floor takes a beating. Oil stains, chemical spills, and constant traffic can quickly turn a clean concrete slab into an eyesore. But upgrading your garage floor doesn’t have to drain your bank account.
The good news? You have options that fit nearly any budget. From simple DIY paint applications to modular tile systems, the right flooring solution can transform your space while keeping costs manageable.
I’m Hayley Shahbazi, Manager at Galaxy Concrete Coatings and an expert in affordable garage flooring solutions including our premium polyaspartic coatings that offer superior durability and value compared to traditional options. My experience has shown that the cheapest option isn’t always the most economical in the long run, especially when considering maintenance and replacement costs.

10 Affordable Garage Flooring Options: What Really Works?
When you’re looking to upgrade your garage floor without emptying your wallet, knowing which options deliver real value makes all the difference. I’ve seen countless homeowners struggle with this decision, so let’s explore the most popular affordable garage flooring choices and find which ones truly stand the test of time.
1. Concrete Floor Paint
At just $0.15 per square foot, concrete floor paint is the ultimate budget option—covering a standard one-car garage for around $40 total.
This weekend-warrior favorite offers impressive color variety and can transform your space in just a couple of days. But here’s the reality check: most concrete paints start peeling under hot tires within months and require complete reapplication every 1-2 years.
Mike from Cincinnati shared his experience: “I painted my garage floor three years ago. It looked great for about six months, but now I’m dealing with peeling under where the cars park and fading in high-traffic areas. I’ll be looking for something more durable next time.”
2. Concrete Sealers
Slightly more durable than paint, acrylic or latex concrete sealers run about $0.20 per square foot (roughly $50 for a one-car garage).
These sealers offer basic moisture protection with a subtle sheen that improves your concrete’s appearance. The application is straightforward—often easier than paint—but the protection is minimal. Expect to reapply every 1-3 years, especially in areas with vehicle traffic or chemical exposure.
3. Concrete Stains
For homeowners seeking a more decorative approach, concrete stains create unique, marbled effects at $10-$15 per square foot.
Unlike surface coatings, stains actually penetrate the concrete, creating longer-lasting color that won’t peel away. The results can be stunning—mimicking natural stone or marble—but they’re also unpredictable. For consistent results, professional application is recommended, and you’ll still need a sealer on top for protection.
4. Epoxy Paint Kits
DIY epoxy kits have become increasingly popular, costing between $3 and $12 per square foot ($720-$2,900 for a one-car garage).
These kits offer significantly better chemical resistance than regular paint and come in various colors with decorative flake options. However, they demand meticulous surface preparation, and application is extremely temperature-sensitive. The 3-5 day cure time can be inconvenient, and many homeowners find the hard way that cheaper kits suffer from hot tire pickup issues and yellowing from UV exposure.

5. Interlocking Floor Tiles
These popular DIY-friendly tiles range from $2.90 to $7 per square foot, with American-made options typically more affordable.
The beauty of interlocking tiles lies in their simplicity—installation requires no adhesives, and you can use your garage immediately after laying them. They’re perfect for hiding concrete imperfections, and you can even take them with you if you move. Sarah from Phoenix told me, “We installed TrueLock HD tiles last summer. The installation took about 4 hours, but we could park on them immediately. They’ve held up great to oil drips and the Arizona heat.”
6. Carpet Tiles
Garage carpet tiles ($1-$5 per square foot) offer comfort underfoot and excellent noise reduction.
While they create a warmer, more finished look, they’re not ideal for automotive work. Oil and fluids are difficult to clean thoroughly, and trapped moisture can lead to mold issues. Consider these primarily for workout areas or climate-controlled garage conversions rather than traditional garage use.
7. Vinyl Flooring
For a modern appearance, vinyl garage flooring costs $3.50-$8 per square foot for SPC (Stone Plastic Composite) and $4-$12 for WPC (Wood Plastic Composite).
Water-resistant and relatively comfortable underfoot, vinyl offers an attractive alternative to industrial-looking options. However, dropped tools can permanently damage the surface, and heavy equipment may leave dents. The installation requires acclimation time, and some homeowners have environmental concerns about vinyl production.
8. Rollout Mats
For quick protection, garage floor mats average $380 per roll, with costs ranging from $24 to $750 per standard roll covering 127.5 square feet.
Nothing beats the simplicity—just unroll and you’re done. These mats can be removed for cleaning and provide good temporary protection. The downsides? Edges tend to curl over time, design options are limited, and they may slide on smooth concrete surfaces. Consider these a step up from bare concrete but not a permanent solution.
9. Porcelain Tiles
At the higher end of affordable garage flooring options, porcelain tiles cost $5-$30 per square foot.
These incredibly durable tiles resist stains, withstand extreme temperatures, and create a polished, upscale appearance. The downsides are significant, though—complex installation typically requires professional help, and those grout lines can become maintenance nightmares in garage environments.
10. Polyaspartic Coatings
Professional polyaspartic garage floor coatings run $4-$9 per square foot, positioning them as the premium option with exceptional long-term value.
These advanced coatings deliver remarkable durability (15+ years), superior chemical and impact resistance, and UV stability that prevents yellowing. Unlike epoxy, polyaspartic coatings cure in just one day, allowing immediate use of your garage. While they require professional installation, the extended lifespan and minimal maintenance requirements make them the most cost-effective solution when considered over time.
When comparing these options based on true value rather than just upfront cost, polyaspartic coatings emerge as the clear winner. The initial investment might be higher than paint or basic sealers, but the decades of trouble-free performance make them the smartest financial choice for homeowners who want to solve their garage floor problems once and for all.
The Ultra-Cheap Route: Paint & Sealers for Affordable Garage Flooring
When you’re working with a shoestring budget or need a quick fix, concrete paint and sealers stand out as the most affordable garage flooring options you’ll find anywhere.
Concrete Floor Paint
At a mere $0.15 per square foot, concrete floor paint won’t strain your wallet. You can transform a typical one-car garage (around 250 square feet) for about $40 in materials—less than the cost of a nice dinner out!
The basic process feels manageable even for weekend warriors:
- Give your concrete a thorough cleaning
- Etch the surface with a mild acid solution
- Rinse completely and let it dry (patience is key here!)
- Roll on 1-2 coats of concrete floor paint
The whole project wraps up in a weekend, which explains why it’s so tempting for DIY enthusiasts. But before you grab that roller, there’s more to the story.
“I see homeowners repainting their garage floors almost annually,” shares Tom, a veteran home improvement contractor. “When you factor in the cost of materials and your valuable time every year or two, what seemed cheap initially becomes surprisingly expensive over time.”
The dreaded “hot tire pickup” is the nemesis of painted garage floors. When you drive home and park, your warm tires can actually pull the paint right off the concrete—leaving unsightly bare patches exactly where you don’t want them. And that’s not all—oil drips, antifreeze spills, and even road salt can quickly damage that thin layer of paint you worked so hard to apply.
Acrylic and Latex Sealers
For just a tiny bump in price—around $0.20 per square foot—concrete sealers offer slightly better protection than paint. They create a thin protective barrier that helps repel water and resist some stains while maintaining a more natural look.
The application process mirrors painting, though you might get away with fewer coats. Most sealers dry clear or with a subtle sheen, preserving your concrete’s original appearance rather than dramatically changing it.
The downside? Like their painted cousins, sealers typically surrender to garage conditions within 1-3 years. They offer minimal protection against heavy tool drops, chemical spills, or the persistent hot tire issue that plagues most DIY coatings.
Both paint and sealers release volatile organic compounds (VOCs) during application—that distinctive “paint smell” that can make your eyes water. Proper ventilation and safety gear are must-haves, adding hidden costs in terms of your health and comfort during installation.
Before applying either product, don’t skip the crucial moisture test:
- Tape a 3×3 ft plastic sheet to your concrete floor
- Seal all edges completely with tape
- Wait a full 24 hours (yes, more patience!)
- Check for condensation or darkening of the concrete
If you spot moisture, you’ll need to solve those underlying issues first, or you’ll be redoing the whole project sooner than you’d like.
While these ultra-budget options might seem attractive initially, many homeowners find themselves upgrading to professional coatings after experiencing the limitations and ongoing maintenance these solutions require. The constant reapplication cycle often ends up costing more in both money and weekend time than investing in a more durable solution from the start.
More info about Acrylic Garage Floor
Why Polyaspartic Coatings Are the Smart Upgrade for Budget-Minded Homeowners
When you’re hunting for affordable garage flooring, it’s easy to get caught up in those temptingly low initial price tags. But here’s the thing—what seems cheap today might actually drain your wallet tomorrow. That’s why more and more savvy homeowners are taking a step back to look at the bigger picture and choosing polyaspartic coatings for their long-term value.
The True Cost Calculation
Let me break this down in a way that might surprise you. When we calculate costs over a 15-year period (the typical life of a good garage floor), the numbers tell an interesting story:
Concrete Paint ($0.15/sq ft)
- Your initial investment for a standard 400 sq ft garage? Just $60—sounds amazing, right?
- But here’s the catch—you’ll be repainting every 1-2 years
- By year 15, you’ve spent around $480 on materials alone
- Plus, you’ve sacrificed over 120 hours of your precious weekends on repeated applications
Epoxy Kit ($5/sq ft)
- Starting cost for the same garage: about $2,000
- You’ll need to reapply every 3-5 years as it yellows and chips
- Your 15-year investment balloons to $6,000-$8,000
- And you’ve still donated 60+ hours of your life to floor maintenance
Polyaspartic Coating ($7/sq ft)
- Initial investment: $2,800
- Reapplications needed over 15 years? Zero
- Total 15-year cost remains at $2,800
- Your time investment? Just the time it takes to make a phone call to Galaxy
When you do the math, polyaspartic isn’t just the most durable option—it’s actually the most budget-friendly over time. It’s like choosing to buy one quality pair of boots that lasts a decade instead of replacing cheap ones every winter.
“I’m kicking myself for not going with polyaspartic from the start,” James from Indianapolis told us recently. “After cycling through paint and epoxy over the years, I’ve spent three times what a polyaspartic coating would have cost me—not to mention all those lost weekends I’ll never get back.”
Polyaspartic vs. Epoxy: A Clear Winner
The advantages of polyaspartic over epoxy aren’t just marginal—they’re game-changing:
Your new polyaspartic floor will be ready to use in just 24 hours, compared to waiting up to a week with epoxy. This means minimal disruption to your daily routine.
While epoxy turns an unappealing yellow when exposed to sunlight, polyaspartic stays vibrant year after year with no color degradation. And unlike temperamental epoxy that needs perfect application conditions, polyaspartic can be installed in temperatures from a freezing -30°F all the way up to a scorching 140°F.
The superior chemical resistance means everything from motor oil to road salt just wipes away, and with 4-5 times more impact resistance than epoxy, you can drop that wrench without having a heart attack. The natural flexibility of polyaspartic means it moves with your concrete as it expands and contracts with temperature changes, preventing those frustrating cracks that plague epoxy installations.
Galaxy’s polyaspartic coatings come with something that speaks volumes about their quality—a lifetime warranty. Think about that: it’s likely the last garage floor you’ll ever need to install. For anyone watching their budget (and who isn’t these days?), that makes it the smartest long-term investment you can make.
Want to learn more about how polyaspartic stacks up against other options? Check out our detailed comparison: Polyaspartic vs Epoxy Floor Coatings
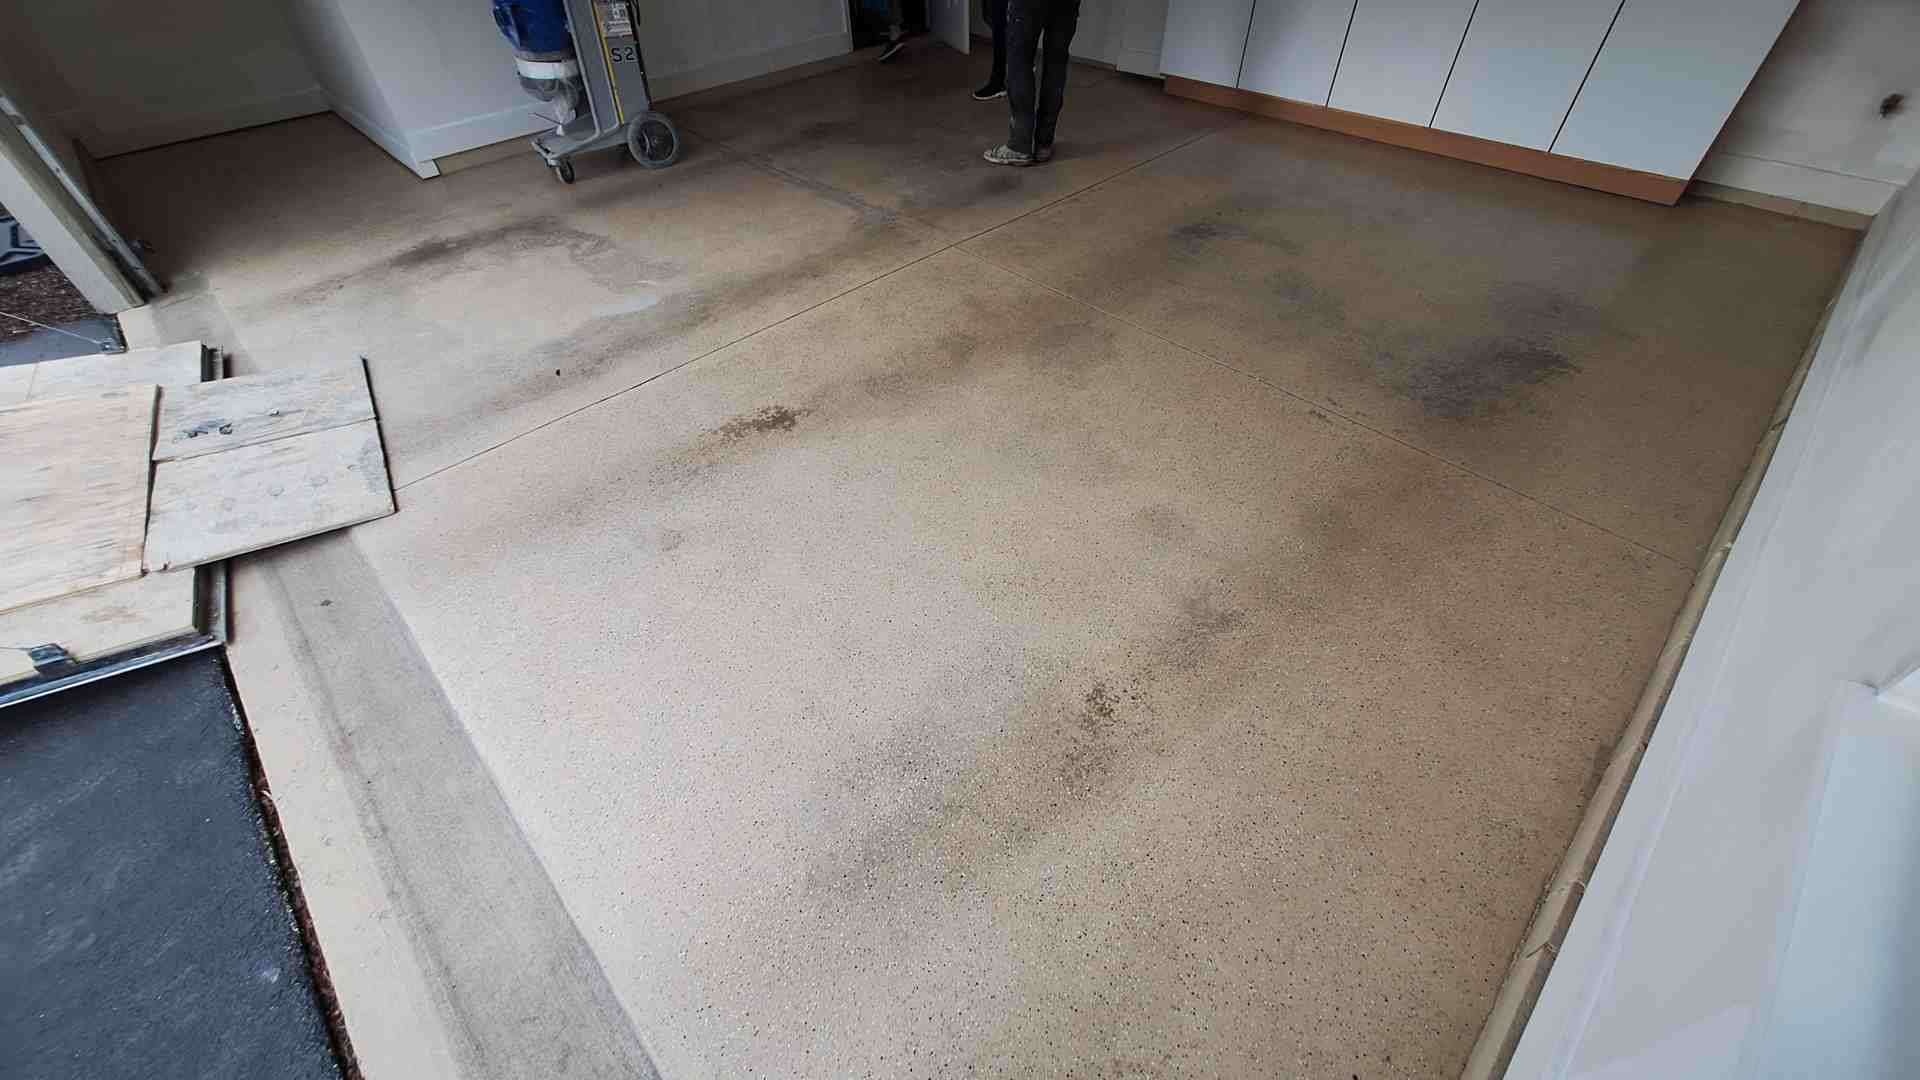
Prep, Install & Maintain on a Shoestring
Let’s face it—even the most affordable garage flooring needs proper prep work to last. Think of it like painting a wall without cleaning it first. You can do it, but that paint’s going to peel faster than a sunburn in Phoenix!
Surface Preparation: The Foundation of Success
The secret to making budget-friendly flooring last isn’t spending more—it’s preparing properly. Here’s how to set your floor up for success without emptying your wallet:
First, tackle those stubborn oil stains. A good degreaser (about $8 at your local hardware store) and some elbow grease will work wonders. For everyday dirt and grime, nothing beats a pressure washer—borrow one from a neighbor if you don’t own one to keep costs down.
Next, address any cracks or damage. Small hairline cracks can be filled with concrete crack filler for around $10-15, while deeper holes might need a concrete patch ($20-30). These small investments prevent bigger problems down the road.
“I skipped crack repair on my first garage floor project,” admits Jason from Denver. “Six months later, those tiny cracks had spread into spider webs across my new coating. Lesson learned the hard way!”
The final prep step creates the right surface for bonding. For paint and sealers, acid etching ($20 for materials) usually does the trick. For more durable options like epoxy or polyaspartic coatings, diamond grinding provides the ideal profile—equipment rental runs about $46 daily, but the results are worth it.

The Moisture Test: A Critical $5 Investment
Before applying any coating, you absolutely must check for moisture issues. This simple test costs less than a coffee date but can save you hundreds in failed flooring:
Tape a 3×3 ft clear plastic sheet to your concrete floor, making sure all edges are completely sealed. After 24 hours, check underneath—if you see condensation or darkening of the concrete, you’ve got moisture problems that need addressing before applying any coating.
“The moisture test is like checking for a pulse before surgery,” explains Maria, a flooring specialist. “Skip it, and you’re basically gambling with your flooring investment.”
Maintenance Tips to Extend Lifespan
The way you care for your floor dramatically affects how long it lasts. Even the most affordable garage flooring can exceed expectations with proper TLC:
For paint and sealers, prevention is key. Sweep weekly to remove abrasive particles that wear down your finish. Clean spills immediately—especially automotive fluids that can eat through these thinner coatings. Plan on applying a fresh coat annually before major damage occurs.
For epoxy coatings, use only pH-neutral cleaners to avoid damaging the surface. Place mats under hot tires to prevent the dreaded “hot tire pickup” that plagues many DIY epoxy jobs. Small chips or scratches should be touched up promptly to prevent moisture from getting underneath.
For polyaspartic coatings like those from Galaxy, maintenance couldn’t be simpler. Regular sweeping and occasional mopping is all that’s needed—no special cleaners required. These space-age coatings resist most stains and chemicals that would damage lesser floors.
For tile systems, vacuum or sweep regularly to prevent debris from collecting in the seams. Occasionally remove and clean underneath if moisture becomes an issue. The beauty of these systems is that you can replace individual damaged tiles without redoing the entire floor.
Maintenance requirements directly impact your floor’s true cost. Those “cheap” options often demand much more of your time and money over the years. Meanwhile, professionally installed polyaspartic coatings from Galaxy might seem like a bigger investment initially, but their minimal maintenance requirements and extraordinary durability make them the budget-savvy choice in the long run.
When you’re ready to explore truly affordable garage flooring that lasts, Galaxy Concrete Coatings serves Denver, Colorado (location page, Google page), Phoenix, Arizona (location page, Google page), Tucson, Arizona (location page, Google page), Cincinnati, Ohio (location page, Google page), and Indianapolis, Indiana (location page, Google page).
DIY? Know the Risks Before Rolling the Dice
Let’s face it—the idea of changing your garage floor yourself has a certain appeal, especially when you’re watching your pennies. There’s that satisfying feeling of pointing to your handiwork and saying, “I did that!” But before you dive headfirst into a DIY garage floor project, it’s worth understanding what you’re really signing up for.
Hidden Costs of DIY Installation
That $40 can of concrete paint suddenly becomes a much bigger investment when you factor in all the extras:
Tool rentals can take a serious bite out of your budget. A floor grinder will set you back $46-75 per day, and if you need a shot blaster for serious surface prep, that’s another $150-200. Even a basic pressure washer rental adds $40-80 to your tab.
You’ll also need proper safety gear—and this isn’t an area to skimp on. A quality respirator costs $25-50, chemical-resistant gloves run $10-20, safety glasses another $10-15, and your knees will thank you for investing in $20-30 knee pads.
Don’t forget the “little things” that add up fast: concrete patch ($20-30), etching solution ($20-30), cleaning supplies ($30-50), and mixing buckets ($10-20).
What started as an affordable garage flooring solution can quickly balloon by $200-500—and that’s before accounting for your time and potential do-overs.
Health and Safety Concerns
“I thought I was being smart by installing epoxy myself,” shares Mark from Denver. “The reality was different. Even with a mask, the fumes were overwhelming, and I developed an itchy rash where the resin touched my skin. The worst part? I had to redo sections that didn’t cure properly. The money I ‘saved’ wasn’t worth the headache—or the actual headaches from the fumes.”
DIY floor coatings involve some seriously potent chemicals:
Epoxy and polyaspartic resins can irritate your skin and respiratory system, sometimes causing lasting sensitivity. Acid etching solutions are downright corrosive and require careful handling. Perhaps most concerning is the silica dust created when grinding concrete—this invisible hazard can cause serious long-term respiratory issues.
Common DIY Failures
The most heartbreaking part of DIY floor projects is when they fail—often within months of installation. Here’s what typically goes wrong:
Inadequate surface preparation is the number one culprit. That concrete needs to be perfectly clean and properly profiled for any coating to stick. Skip this step, and you’ll soon see peeling and delamination.
Improper mixing of two-part coatings leads to soft spots, bubbling, or sections that never fully cure. Application in wrong conditions is another common issue—temperature and humidity levels dramatically affect how coatings cure.
Many DIYers apply coatings at the incorrect thickness—too thin wears quickly, while too thick may never properly cure. And then there’s the dreaded hot tire pickup, where the heat from your car tires literally pulls the coating off the floor.
When these problems occur, you’re often looking at a complete do-over—twice the cost, twice the time, and twice the frustration.
The Professional Advantage
This is where Galaxy’s professional polyaspartic coating installation truly shines. Our teams have:
Specialized equipment and techniques that ensure proper surface preparation—the foundation of a long-lasting floor. Years of experience applying these coatings for consistent, beautiful results. Access to professional-grade materials that simply aren’t available to consumers.
Perhaps most valuable is our one-day installation and cure time—park on your new floor the very next day. And our lifetime warranty means if something does go wrong, you’re covered.
“My neighbor and I both tackled garage floors the same week,” Jennifer from Phoenix tells us. “He went the DIY epoxy route while I called Galaxy for their polyaspartic coating. Fast forward a year—his floor is already yellowing and showing wear patterns under his tires, while mine still looks brand new. Sometimes the smart budget move is investing in quality from the start.”
When you weigh the true costs—materials, equipment, your valuable time, potential health risks, and the very real possibility of failure—professional installation often emerges as the more economical choice in the long run. It’s not just about saving money today; it’s about making a smart investment in your home that will look stellar for years to come.
Stretch Your Budget With Smart Shopping Hacks
Finding truly affordable garage flooring doesn’t mean you have to settle for the cheapest option out there. It’s about finding that sweet spot where quality meets value. I’ve helped hundreds of homeowners transform their garages without emptying their wallets, and I’m happy to share some insider tips.
1. Look for Off-Season Deals
Garage renovations follow predictable seasonal patterns, and timing your purchase can save you serious cash. Most homeowners tackle garage projects in spring and fall when the weather is mild. If you can plan ahead:
Shop during winter or mid-summer when demand drops and prices follow. I’ve seen professional installation companies like ours offer 10-20% discounts during these slower periods. My customer James from Phoenix waited until July for his installation and saved nearly $400 on his 500-square-foot garage!
Manufacturers and retailers also run deeper promotions during these off-peak times, often clearing inventory with significant markdowns in January and July. Set calendar reminders six months ahead of your project to start watching for these seasonal deals.
2. Use Price-Per-Square-Foot Filters
When shopping online for affordable garage flooring, the total price can be misleading. A $300 kit might seem cheaper than a $450 option, but if the first covers 250 square feet and the second covers 500, you’re actually paying more for less.
Always filter and sort by price-per-square-foot to identify true value. Home improvement sites like Home Depot’s Garage Flooring section make this easy with built-in filtering tools. This simple habit has saved my customers thousands over the years by revealing which options truly deliver the best bang for your buck.
3. Consider Modular Systems for Partial Coverage
Who says you need to cover every inch of your garage floor? Strategic partial coverage can dramatically cut your costs while still addressing your primary needs.
Create dedicated parking pads just where your vehicles sit to catch drips and protect against hot tire pickup. Install higher-quality flooring only in your workshop area where you’ll spend the most time standing. Use proper edge pieces to create a finished look that doesn’t scream “I ran out of money!”
This targeted approach can slash your material costs by 50-70% while still protecting the areas that matter most. One of my customers in Denver covered just his workbench area and car parking spots with our polyaspartic coating, saving over $1,000 while still getting professional results where it counted.
4. Look for Factory-Direct Pricing
The retail markup on flooring products can be substantial. Many manufacturers now sell directly to consumers, passing those savings along to you instead of to middlemen.
For tile systems, companies like TrueLock offer factory-direct pricing starting at $2.90 per tile, while RaceDeck provides direct sales between $3.99-$7.75 per square foot. Similarly, Galaxy Concrete Coatings offers competitive direct pricing on our professional polyaspartic installations, cutting out the middleman markup that typically adds 15-30% to your project cost.
5. Calculate the True Long-Term Cost
The smartest budget move isn’t focusing on today’s price tag—it’s understanding what your flooring will cost over its lifetime. This is where many budget-conscious shoppers actually end up spending more.
“I almost went with epoxy because it was $2 per square foot cheaper,” explains Robert from Tucson. “But after calculating that I’d need to redo it every 4-5 years, Galaxy’s polyaspartic coating with a lifetime warranty actually worked out to be 40% cheaper over a 10-year period—plus I didn’t have to spend weekends on installation or deal with those nasty fumes in my house.”
When comparing options, factor in:
- How often you’ll need to reapply or replace the flooring
- Ongoing maintenance costs (special cleaners, sealers, etc.)
- The value of your time for installation and upkeep
- Potential increase in property value from quality flooring
This long-term perspective often reveals that premium options like polyaspartic coatings aren’t just better—they’re actually more affordable garage flooring when you look at the complete picture.

Shoot for the Stars: Finish With a Floor That’s Out of This World
When you’re searching for affordable garage flooring, thinking long-term often leads to the best value. That’s where Galaxy Concrete Coatings enters the picture—or should I say, the universe of options.
I’ve explored many budget-friendly alternatives with you throughout this article, but our polyaspartic coatings truly represent the perfect balance of affordability and astronomical quality. Our customers consistently tell us our floors feel like they’re from another galaxy compared to traditional options, and for good reason.
The Galaxy Difference
What makes our coatings stand out in the cosmic landscape of garage flooring? For starters, our one-day installation process means your life isn’t disrupted for days on end. While epoxy requires 3-7 days to cure, our floors are ready for full use in just 24 hours—warp speed compared to the competition!
Our lifetime warranty offers peace of mind you simply won’t find with other options. Think about it: paint needs yearly reapplication, epoxy typically lasts 3-5 years, but our polyaspartic coatings are backed for life. That’s not just confidence in our product—it’s a commitment to your satisfaction.
The superior durability of our coatings isn’t just marketing talk—they’re scientifically designed to be 4-5 times more impact-resistant than epoxy. Plus, they won’t yellow from UV exposure, even in sunny locations like Arizona. Whether you’re facing the freezing winters of Ohio or the blistering heat of Arizona summers, our coatings maintain their integrity in temperatures ranging from -30°F to 140°F.
Chemical spills happen in garages—it’s just a fact of life. Our polyaspartic coatings offer stellar chemical resistance against automotive fluids, household cleaners, and road salt, keeping your floor looking pristine year after year.
Michael from Cincinnati shared his experience: “After researching all the affordable garage flooring options, I chose Galaxy Concrete Coatings. The installation was completed in one day, and three years later, it still looks brand new despite my automotive work and Ohio’s harsh winters.”
The True Value Calculation
While our polyaspartic coatings aren’t the cheapest option upfront, they provide the best long-term value in the galaxy. When you factor in zero reapplication costs, minimal maintenance requirements, increased home value, and lifetime warranty protection, many homeowners find our professional polyaspartic coatings are actually the most economical choice over time.
It’s like buying a reliable spacecraft instead of constantly repairing a shuttle that keeps breaking down—the initial investment pays dividends for years to come.
We’re proud to serve homeowners across multiple states with our stellar service and cosmic quality:
- Denver, Colorado (location page, Google page)
- Phoenix, Arizona (location page, Google page)
- Tucson, Arizona (location page, Google page)
- Cincinnati, Ohio (location page, Google page)
- Indianapolis, Indiana (location page, Google page)
Ready to launch your garage floor into the stratosphere? Our five-star reviews across the universe speak volumes. With Galaxy Concrete Coatings, you’re not just getting a floor—you’re getting an interstellar upgrade that will stand the test of time. Our rocket-speed installation and meteor-proof durability make our polyaspartic coatings the ultimate choice for homeowners who want their garage to shine like a supernova without creating a black hole in their wallet!