
Pour Decisions: Mastering the Concrete Floor Installation Process
The Foundation of Excellence: Understanding Concrete Floor Installation
The concrete floor installation process involves several key steps that ensure durability and quality. Here’s what you need to know:
- Site Preparation: Clear area and assess subfloor integrity
- Moisture Testing: Check concrete moisture levels (<4%)
- Surface Preparation: Grind, clean, and repair cracks
- Vapor Barrier: Install moisture protection
- Concrete Placement: Pour, level, and screed concrete
- Finishing: Float and trowel for desired texture
- Curing: Allow 28 days for complete curing
- Sealing/Coating: Apply protective top layer
Whether building a home or upgrading a commercial space, a properly installed concrete floor serves as the literal foundation for everything above it. Concrete floor installation process requires careful planning and execution to ensure longevity and performance. Unlike other flooring materials, concrete offers best durability and versatility when done right.
The days of plain, gray concrete are long gone. Today’s concrete floors can be polished to a mirror shine, stained in vibrant colors, or textured to mimic natural stone. But achieving these stunning results starts with mastering the fundamentals of proper installation.
I’m Hayley Shahbazi, Galaxy Concrete Coatings Manager and concrete flooring expert who has overseen countless concrete floor installation process projects across residential and commercial applications, ensuring our polyaspartic coatings adhere perfectly to properly prepared surfaces for maximum durability.

Simple concrete floor installation process glossary:
- commercial kitchen floor coatings
- industrial epoxy flooring solutions
- industrial floor cleaning solution
The Concrete Floor Installation Process: From Ground Prep to Galactic Shine
The concrete floor installation process is both a science and an art. While the basic principles have remained consistent for decades, modern techniques and materials have liftd concrete flooring to new heights—or should we say, new depths of durability and beauty.
Before any concrete is mixed or poured, proper preparation is essential. This includes evaluating subfloor integrity, conducting moisture testing, repairing any existing cracks, adding appropriate reinforcement, and installing a vapor barrier. These preparatory steps might seem tedious, but they’re the cosmic difference between a floor that lasts for generations and one that fails prematurely.
Once the preparation is complete, the actual installation involves screeding (leveling the wet concrete), floating (smoothing the surface), and troweling (creating the final finish). After installation, proper curing is critical—typically taking about 28 days for concrete to reach its full strength.
Safety should never be an afterthought during the concrete floor installation process. Personal protective equipment (PPE) including gloves, safety glasses, dust masks, and appropriate footwear are essential for anyone involved in the installation. Concrete is highly alkaline and can cause chemical burns if it comes into contact with skin for extended periods.
For those looking to understand the science behind what makes concrete floors truly durable, check out our detailed guide on The Science Behind Durable Concrete Coatings.
Step 1 – Site & Subfloor Preparation for the concrete floor installation process
The foundation of an exceptional concrete floor begins with thorough site and subfloor preparation. This critical first step in the concrete floor installation process determines the longevity, appearance, and performance of your finished floor.
For new construction, proper compaction of the soil is essential to prevent settling that could lead to cracking. The subgrade should be uniformly compacted to at least 95% of its maximum density. After compaction, precise grading ensures proper drainage and a level base for the concrete slab.
One of the most important elements of subfloor preparation is installing a vapor barrier. This plastic sheeting (typically 10-15 mil polyethylene) prevents ground moisture from migrating up through the concrete, which can cause coating failures, mold growth, and other moisture-related problems.
“The success of any flooring project depends on how well you prepare the surface before installation,” notes industry experts. This is particularly true for concrete floors, where improper preparation can lead to costly failures.
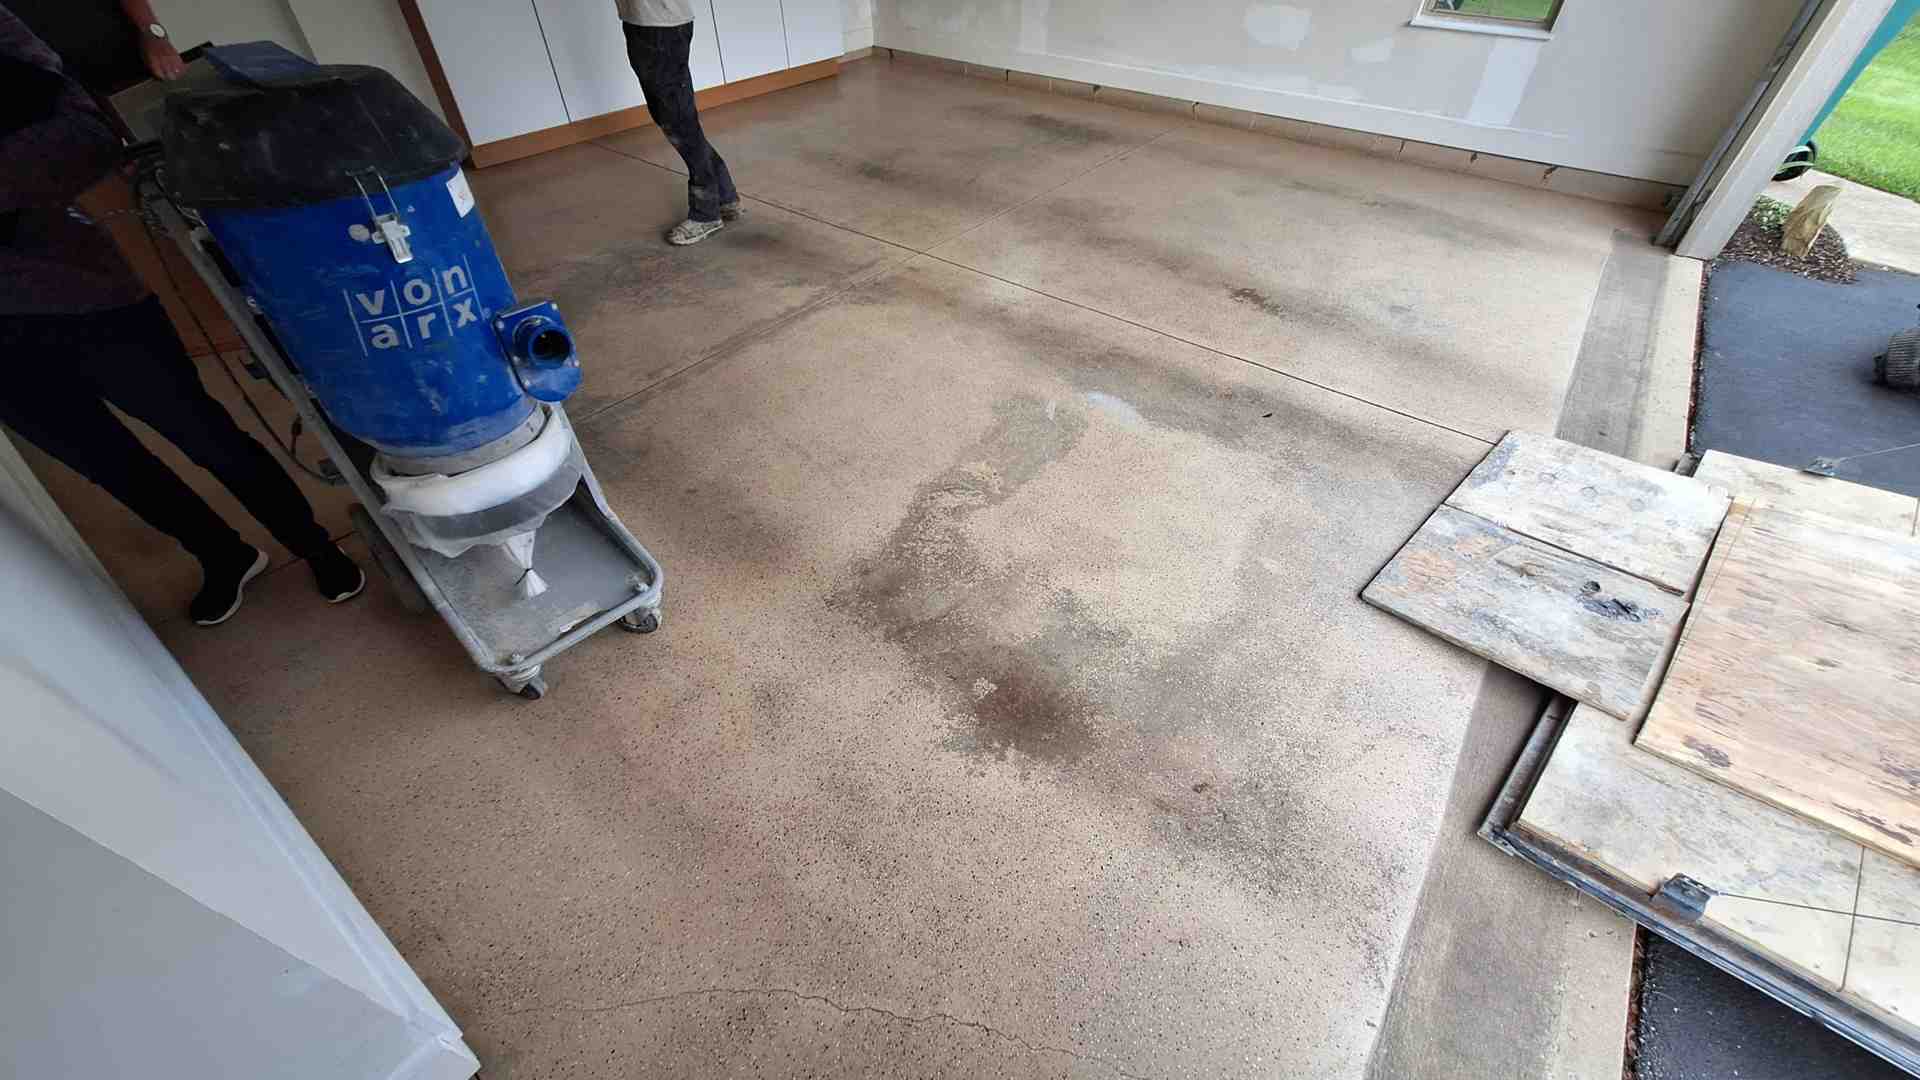
For existing concrete floors that will be resurfaced or coated, mechanical grinding is often necessary to remove the weak surface layer known as laitance. This 1/16-inch layer forms during the initial curing process and must be removed to ensure proper adhesion of coatings or overlays.
According to scientific research on subfloor prep, concrete subfloors must meet specific criteria before proceeding with the installation:
- Moisture content should be less than 4%
- The surface should be level within 3/16 inch over a 10-foot span
- All cracks, holes, and imperfections must be repaired
- The surface must be thoroughly cleaned of all dust, dirt, and contaminants
For outdoor applications like driveways, additional considerations come into play. Our guide on Concrete Driveway Resurfacing provides specific insights for these projects.
The time spent on proper preparation is never wasted. As we like to say at Galaxy Concrete Coatings, “Preparation isn’t just the first step—it’s half the journey to a floor that’s out of this world.”
Step 2 – Mixing, Pouring & Leveling: core of the concrete floor installation process
Once your site is properly prepared, the next phase of the concrete floor installation process involves mixing, pouring, and leveling the concrete—truly the heart of creating a durable, functional floor.
Concrete mixing requires precision. The standard ratio for a basic concrete mix is 1 part cement, 2 parts sand, and 3 parts aggregate, with water added to achieve the right consistency. Too much water weakens the concrete, while too little makes it difficult to work with. Professional contractors aim for a consistency similar to thick pancake batter—fluid enough to pour but stiff enough to hold its shape.
For residential and small commercial projects, you have two primary options:
| Concrete Source | Advantages | Disadvantages | Typical Cost |
|---|---|---|---|
| Ready-mix truck | Professional mix, large volume capacity, consistent quality | Minimum order requirements, time constraints for placement | $120-150 per cubic yard delivered |
| On-site mixing | No minimum order, flexibility in timing, can mix as needed | Labor intensive, potential for inconsistent batches, equipment needs | $90-110 per cubic yard for materials |
Before pouring begins, a slump test should be performed to verify the concrete’s workability. This simple test measures how much a cone of fresh concrete “slumps” or settles when the cone is removed. For most floor applications, a slump of 3-5 inches is ideal—fluid enough to work but not so wet that it compromises strength.
The pouring process requires coordination and speed, especially for larger areas. Concrete begins to set within 30-90 minutes of mixing, depending on temperature and humidity conditions. For this reason, many contractors divide large floors into manageable sections, using forms or control joints to create boundaries.
After pouring, the concrete must be quickly leveled using screeding tools—typically long, straight boards or specialized tools that are pulled across the surface to remove excess concrete and create a flat plane. This process, known as screeding, establishes the initial level of the concrete.
Following screeding, a bull float is used to smooth the surface and embed larger aggregate particles. This large, flat tool is moved back and forth across the surface in overlapping passes. For larger areas, power trowels (often called “power floats”) may be used for this step.
An often-overlooked but crucial step is vibration. Mechanical vibrators or even tapping the forms helps eliminate air pockets and voids in the concrete, resulting in a denser, stronger floor. Without proper vibration, air bubbles can rise to the surface and create weak spots or surface imperfections.
As concrete experts with years of experience, we’ve found that the pouring and leveling phase is where many DIY projects go awry. The window for working with fresh concrete is limited, and delays or improper techniques during this phase can lead to permanent issues that are difficult or impossible to correct later.
Step 3 – Finishing Options: Gloss, Aggregate & Color
After the concrete has been poured and leveled, the concrete floor installation process moves into the finishing phase, where aesthetic decisions come into play. This is where your concrete floor transforms from a utilitarian surface to a customized design element.
The level of aggregate exposure is one of the first decisions to make. There are three primary options:
- Cream Polish (no exposure): This finish reveals only the cream paste at the top of the concrete, creating a smooth, uniform appearance. It’s the most economical option, costing between $3.50 and $5 per square foot, and provides a clean, modern look.
- Salt and Pepper (light exposure): With light grinding, small aggregate particles become visible, creating a subtle, speckled appearance. This finish strikes a balance between visual interest and cost.
- Rock Cut (heavy exposure): Deeper grinding exposes larger aggregate throughout the floor, showcasing the stones within the concrete mix. While more expensive, this finish creates a distinctive, terrazzo-like appearance.
The gloss level is determined by the grit of the final polishing tools used:
- Matte finish (200-400 grit): A low-sheen, modern look
- Standard gloss (800 grit): The most common choice for residential applications
- High gloss (1500-3000 grit): A mirror-like, reflective finish
According to industry data, the cost difference between gloss levels is minimal, so this choice should be based primarily on aesthetic preference rather than budget concerns.
Color can be introduced through concrete dyes, which are transparent and shift the floor’s color subtly. Gray tones create a modern, industrial look, while brown tones provide warmth for more rustic settings.
For protection during construction, many professionals recommend Ram-Board or similar protective coverings. This allows other trades to continue working without damaging the newly finished floor.
For those interested in exploring different coating options beyond traditional polishing, our guide on Concrete Coating Types provides comprehensive information on alternatives including polyaspartic coatings—our specialty at Galaxy Concrete Coatings.
Polyaspartic coatings represent the cutting edge of concrete floor finishing technology. Unlike traditional epoxy coatings, polyaspartics cure rapidly (allowing for one-day installation), resist UV damage (preventing yellowing), and offer superior chemical and abrasion resistance. These clear coats can be applied over polished concrete or decorative concrete to improve both protection and appearance.
The finishing phase is where your concrete floor truly becomes a custom design element. Whether you prefer the industrial chic of a polished concrete floor or the decorative possibilities of colored and textured concrete, the finishing options are virtually limitless.
Step 4 – Curing, Sealing & Safety Essentials
The final phase of the concrete floor installation process involves curing, sealing, and ensuring safety measures are in place. Though often overlooked, these steps are crucial for the long-term performance and appearance of your concrete floor.
Proper curing is essential for concrete to reach its full strength potential. While concrete may appear dry within hours or days, the chemical process of hydration—which gives concrete its strength—continues for much longer. The industry standard is a 28-day cure time for concrete to reach approximately 90% of its ultimate strength.
During this curing period, moisture management is critical:
- Days 1-7: Concrete should be kept consistently moist through water curing, curing compounds, or moisture-retaining covers
- Days 8-28: Direct moisture can be removed, but the concrete should be protected from rapid drying
While full curing takes 28 days, concrete typically becomes strong enough for light foot traffic after 24-48 hours and for vehicle traffic after 7-10 days, depending on conditions.
Sealing is the next critical step. A good quality sealer applied to concrete can last anywhere from 1 to 5 years, depending on traffic and environmental conditions. Sealers serve multiple purposes:
- Preventing staining and chemical damage
- Reducing dust from concrete abrasion
- Enhancing color and appearance
- Providing slip resistance (when additives are included)

Safety considerations should never be an afterthought in the concrete floor installation process. Essential safety measures include:
- Proper ventilation during sealing to prevent inhalation of fumes
- Use of appropriate PPE including gloves, eye protection, and respiratory protection
- Addition of anti-slip additives in areas prone to moisture
- Proper cleaning protocols using pH-neutral cleaners to maintain safety and appearance
For garage applications specifically, our Garage Floor Coatings guide provides detailed information on specialized sealers and coatings designed for these high-traffic areas.
At Galaxy Concrete Coatings, we’ve pioneered the use of advanced polyaspartic coatings that address many of the limitations of traditional concrete sealers. These coatings cure rapidly, allowing for same-day use in many cases, while providing superior protection against chemicals, abrasion, and UV damage.
The curing and sealing phase isn’t just about protection—it’s about preserving and enhancing all the work that came before. A properly cured and sealed concrete floor can maintain its appearance and performance for decades, making it one of the most durable flooring options available.
Maintenance, Costs & When to Call the Pros
Once your concrete floor is installed and looking fabulous, you’ll want to keep it that way! Let’s talk about how to care for your new floor, what you can expect to pay, and when it makes sense to bring in the professionals.
Maintenance: Keeping Your Concrete Floor in Stellar Condition
Good news! Concrete floors are incredibly low-maintenance compared to other flooring options, but they do need some TLC to stay looking their best. Think of it like owning a car—a little regular attention prevents bigger problems down the road.
For basic concrete floor care, grab your broom and sweep regularly to remove those pesky abrasive particles that can scratch your beautiful surface. Once a month, give it a gentle mop with a pH-neutral cleaner—stay away from those harsh acidic or alkaline cleaners that can damage your sealer! Every year, take a close look at your sealer for signs of wear and reapply as needed (typically every 1-5 years depending on foot traffic and the type of sealer you’ve chosen).
The golden rule of concrete floor maintenance? Clean up spills immediately! This is especially important for chemicals, oils, or acidic substances that could leave a permanent reminder of that time you knocked over your coffee.
If you’ve opted for a polyaspartic-coated concrete floor from Galaxy Concrete Coatings, you’re in for an even easier maintenance routine. Our stellar coatings resist stains and chemicals so effectively that most spills simply wipe away without a trace. Even better, our durable finish typically needs recoating far less frequently than traditional sealers—giving you more time to enjoy your space and less time on maintenance.
Cost Considerations: Value Beyond the Price Tag
When you’re comparing flooring options, the initial price tag is just part of the story. Concrete floor installation process costs need to be weighed against long-term value.
A standard polished concrete floor with a cream polish finish typically runs between $3.50 and $5 per square foot—a cosmic bargain compared to white oak hardwood ($12-$22), high-quality tile ($15-$30), or natural stone ($20-$50+).
But the savings don’t stop at installation. Concrete floors offer remarkable financial benefits over time:
Concrete floors can literally last a lifetime when properly installed and maintained. Unlike carpet or vinyl that you’ll replace every decade or so, a quality concrete floor is a one-time investment. The thermal mass of concrete can also help moderate your indoor temperature, potentially lowering your energy bills. And let’s not forget the money you’ll save by never having to replace your flooring again!

DIY vs. Professional Installation: A Universe of Difference
I know what you’re thinking—”I’ve watched enough home improvement shows to handle this myself!” While the DIY route might seem appealing to your wallet initially, there are some serious considerations before you tackle the concrete floor installation process on your own.
DIY concrete projects often hit unexpected snags. Without professional-grade tools and materials, you might struggle with critical techniques like proper screeding and finishing. The clock is also your enemy—concrete waits for no one, and timing is everything when working with setting materials. Even experienced DIYers often find it challenging to achieve consistent results across larger areas.
Professional installation, on the other hand, brings peace of mind through expertise. Our pro teams at Galaxy Concrete Coatings have access to high-quality materials not available to consumers and specialized equipment that makes proper preparation and finishing possible. When unexpected issues arise (and they always do!), our experienced technicians know exactly how to handle them.
Perhaps most impressive is our polyaspartic coating installation process. While traditional concrete finishing can take days or weeks, our specialized one-day installation minimizes disruption to your home or business. You can literally park your car in your garage the very next day! And with our lifetime warranty, you’ll have protection that DIY simply can’t match.
For help choosing the right concrete coating for your specific needs, check out our detailed guide on How to Choose the Best Concrete Coating. It’s packed with comparisons and recommendations to help you make an informed decision.
While DIY projects can be fun and rewarding for many home improvements, the concrete floor installation process involves numerous critical steps where professional experience makes a significant difference. In the long run, professional installation often proves more economical by providing superior results and avoiding costly mistakes that could haunt you for years to come.
Conclusion & Stellar Next Steps
Mastering the concrete floor installation process is truly a journey from the ground up. From careful site preparation to the final polishing or coating application, each step builds upon the last to create a floor that’s not just functional, but truly exceptional.
At Galaxy Concrete Coatings, we’ve taken concrete flooring to astronomical heights with our advanced polyaspartic coating systems. Unlike traditional epoxy coatings that can yellow, peel, and require days of installation time, our polyaspartic coatings offer:
- One-day installation with minimal disruption to your life
- Superior UV resistance that prevents yellowing over time
- Exceptional chemical and abrasion resistance for best durability
- Four times the strength of traditional epoxy coatings
- Flexibility that prevents cracking and peeling
- A lifetime warranty that provides peace of mind
Whether you’re considering a new concrete floor installation or looking to transform an existing concrete surface, understanding the fundamental process helps you make informed decisions. While DIY concrete work is possible for small projects, the complexity of proper installation and the specialized equipment required often make professional installation the wiser choice for most applications.
For those seeking industrial-grade durability, our guide on More info about industrial coatings provides specific insights for commercial and industrial applications.
Galaxy Concrete Coatings proudly serves communities across the country with our stellar service and out-of-this-world results. Our cosmic coverage includes Denver, Colorado (https://maps.app.goo.gl/Puexf5x3GtjvLUmS6), Phoenix, Arizona (https://maps.app.goo.gl/upq42kxRjiuyPgRV8), Tucson, Arizona (https://maps.app.goo.gl/HCnsQJdchAAsKuHQ7), Cincinnati, Ohio (https://maps.app.goo.gl/uTQD7CL9nRtSDNTV6), and Indianapolis, Indiana (https://maps.app.goo.gl/o4jBAcVuGkrFhbBD9).
Our constellation of five-star reviews speaks to our commitment to excellence in every project we undertake. From residential garage floors to commercial warehouses, we deliver concrete coating solutions that are truly out of this world. When you’re ready to launch your concrete floor to new heights of durability and beauty, our team of cosmic concrete experts is ready to make your flooring dreams a reality that will shine for light-years to come.